This content is associated with a legacy version of the Replicated product. For the current Replicated product documentation, see docs.replicated.com.
An “airgapped” environment is a network that has no path to inbound or outbound internet traffic at all. Some enterprise customers require that you deliver a package they can install in their airgapped environment.
Replicated supports this type of installation, using the following steps:
Prepare the environment
The customer will be responsible for delivering a server running a supported version of Docker. Replicated supports Docker from 1.10.3 to 24.0.2. We recommend that you use the latest version of Docker available in this range for your operating system.
The Replicated airgap installation script does not install docker-engine. We’ve written a guide with some tips that might help get Docker installed into air gapped machines with various operating systems.
Install Replicated
Replicated can be installed by downloading the latest release from https://s3.amazonaws.com/replicated-airgap-work/replicated.tar.gz and running the following commands:
tar xzvf replicated.tar.gz
cat ./install.sh | sudo bash -s airgap
Previous versions can be downloaded from URLs following the pattern https://s3.amazonaws.com/replicated-airgap-work/stable/replicated-<version>%2B<version>%2B<version>.tar.gz, for example https://s3.amazonaws.com/replicated-airgap-work/stable/replicated-2.28.0%2B2.28.0%2B2.28.0.tar.gz for Replicated 2.28.0.
Download Airgap Package
On the license properties page in the vendor portal, enable Airgap installations for this license and copy the download link. This URL is designed to be delivered to that customer. They will use this link to download current airgap packages when you promote a release. When they download new airgap packages to their server, it is important that your customer set the --trust-server-names and --content-disposition flags for wget or rename the file to something ending with .airgap.
Your customer will need the .airgap package and the normal Replicated license (.rli) file. Be sure to download the license file after enabling the airgap feature on the license. Airgap-enabled licenses have more metadata embedded than non-airgap licenses. Airgap enabled licenses can be used to install in non-airgap mode, but non-airgap licenses cannot be used to install in airgap mode.
Install Airgap Package
Next, navigate to the Admin Console at https://<server_ip>:8800. Accept the self-signed certificate, pass the preflight checks, and you will see the license upload screen. Upload the airgap enabled license and then select the airgapped install option. You can choose to provide a path to the .airgap file or upload it directly.
Once this screen is completed, Replicated runs as normal.
Updating License and Application
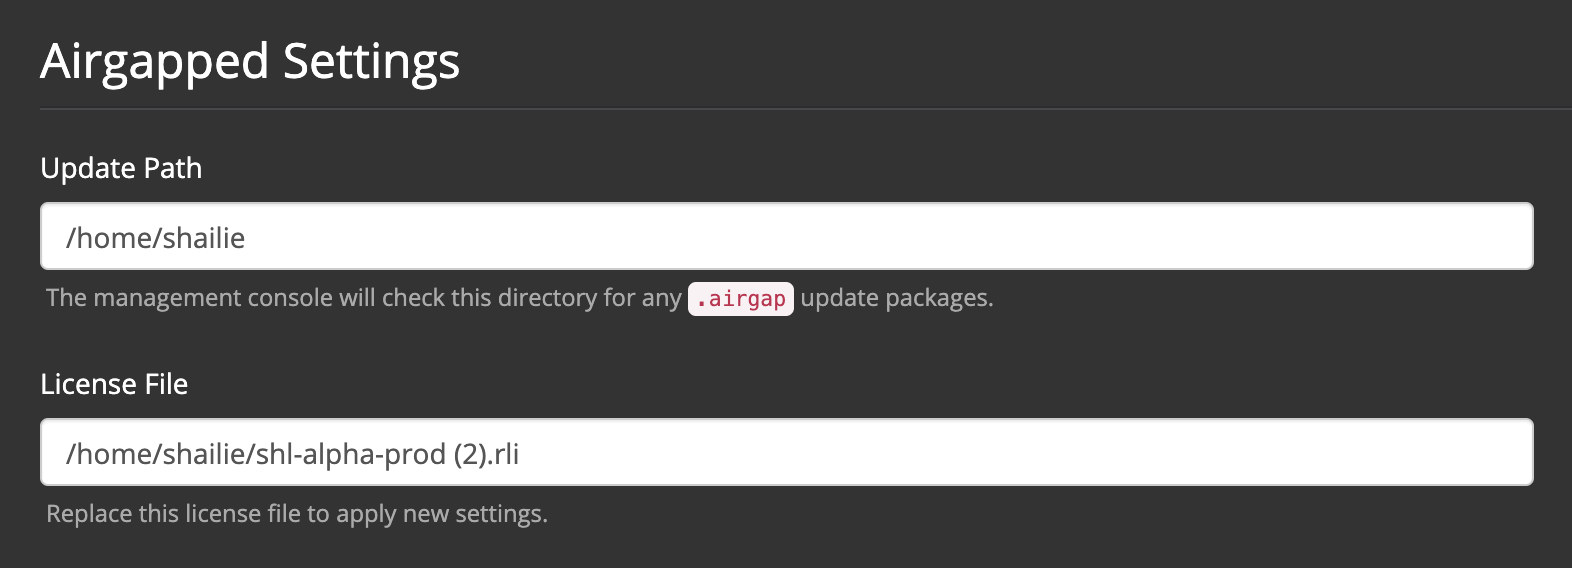
In the Console Settings page of the Admin Console (/console/settings), there is a section entitled “Airgapped Settings”. Updates to your application can be installed by downloading the new version and placing it on the server in the directory specified under “Update Path” or by uploading the bundle directly via the releases page in the Admin Console (/releases). The extension of the file must be .airgap. Your license can be synced by placing a new license .rli file in place of the existing one at the path specified under “License Path”.
Adding Additional Nodes
In order to add additional nodes to your cluster, just navigate to the Cluster page of the Admin Console, click the “Add Node” button, and follow the instructions there. For more detailed instructions see the add nodes page of the docs.